Compression is probably one of the most widely used tools in music production and, at the same time, one of the most confusing. Almost every producer knows that a compressor controls a sound's dynamics, but when it comes to using one, a much more important question comes up: does this sound actually need compression?
During my years as a producer, I have seen many artists put compressors on practically every channel, often without knowing exactly what they are trying to achieve. They add a compressor to the kick, another to the bass, another to the lead and several more to their buses, simply because they consider it part of a good mix.
However, using more compression does not mean your production will sound more professional. In fact, compressing without a clear goal can do the opposite: take away punch, dynamics and clarity.
In this article, I want to explain how compression works in simple terms and, above all, when and why I personally use it in my electronic music productions.
1. What does a compressor actually do?
A compressor is a tool that changes the dynamics of an audio signal. Put simply, it lets us reduce the differences in level between the loudest and quietest parts of a sound.
Imagine a vocal recording in which some words sit perfectly, while others jump out too much. We can use a compressor to bring down those louder moments and achieve a more balanced performance.
The same applies to certain instruments, percussion sounds or effects with significant differences in level.
But there is a crucial detail: a compressor does not automatically improve a sound. It only changes its dynamic behavior. Whether that change is positive or negative depends on what we need to achieve.
The four essential controls
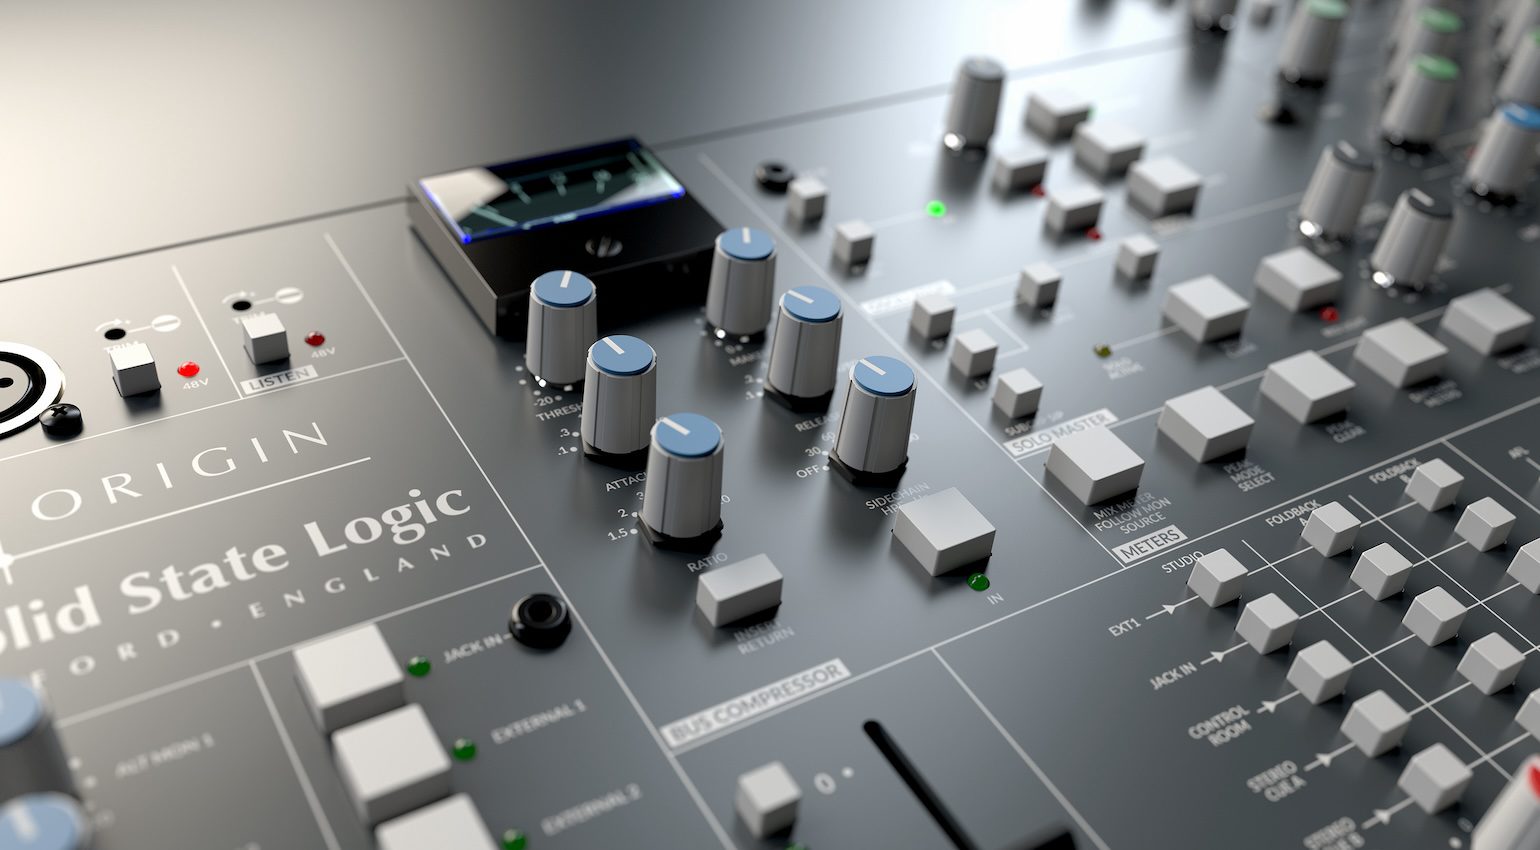
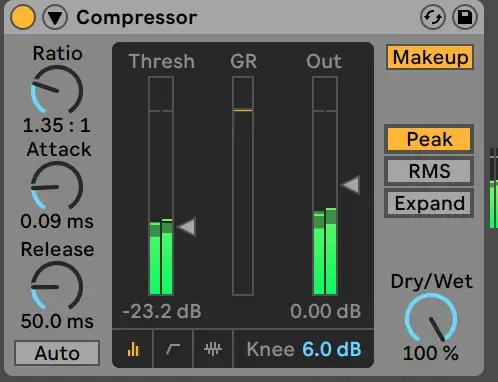
Although some compressors offer many features, these are the four parameters you need to understand:
- Threshold: sets the level at which the compressor starts working.
- Ratio: determines how much the signal is reduced when it exceeds that threshold.
- Attack: controls how quickly the compressor responds to an increase in level.
- Release: determines how quickly it stops compressing when the signal level falls again.
You will also find controls such as makeup gain, which lets you restore output level, and knee, which changes how gently compression begins.
You do not need to memorize settings for every instrument. What matters is understanding what happens when you change these parameters and, especially, learning to hear the result.
2. When does a sound need compression?
For me, this is the most important question.
Before inserting a compressor, try to identify the problem you want to solve. Are the level differences too large? Do you want to control a few peaks? Do you need to change a sound's punch? Are you looking for a denser texture or a creative effect?
If you do not have a clear answer, you probably do not need to add a compressor yet.
In electronic music, we constantly work with synthesizers, samples and loops that are often already processed. A commercially available kick sample, for example, may already have perfectly controlled dynamics.
Adding compression out of habit can reduce its punch without improving anything.
That is why my recommendation is simple: listen first, identify the problem, and then decide whether compression is the right tool.
3. How I use compression on bass
One of my most common uses for compression is controlling level differences in certain bass sounds.
In electronic music, especially Trance and Progressive, bass plays a fundamental role in the mix. Low frequencies can contain a lot of energy and, depending on the sound and the notes we play, there can be significant differences in level.
For example, when a bass changes note, its fundamental frequency changes too. Depending on the synthesizer, filter, resonance and other factors, some notes may sound louder than others.
In these cases, a compressor can help reduce those level differences and make the bass more consistent.
However, it is worth clarifying something: a conventional compressor does not control each frequency independently. It responds to the level of the signal it receives. If we need to control only a particular frequency range, we can use a multiband compressor or a dynamic EQ.
It is also important to distinguish a dynamics problem from a tonal balance problem. If one note has too much energy at a particular frequency, compressing the entire bass will not always be the best solution.
My usual goal is to keep the bass energy consistent throughout the production without removing the sound's natural movement.
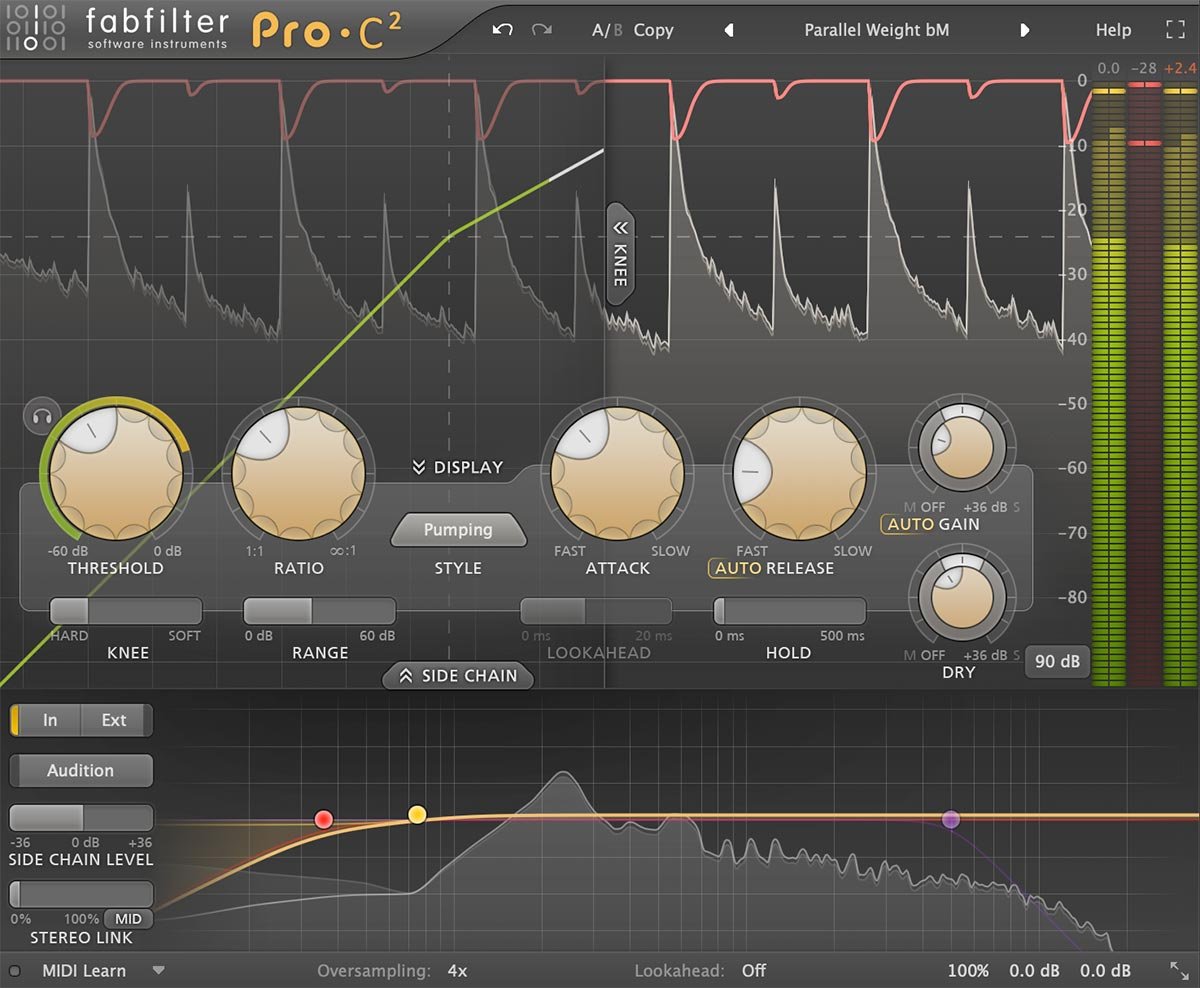
4. Parallel compression: more body and cohesion for percussion
Another technique I use frequently is parallel compression, especially on percussion.
The principle is simple: we blend an original, uncompressed signal with a version processed through compression. This lets us compress one of the signals quite heavily and control how much of that processing we bring into the final result.
In my productions, I usually work with a percussion bus that groups elements such as claps, snares, hi-hats and other rhythmic sounds, while keeping the kick separate.
This lets me compress the percussion without directly affecting the kick's punch.
Parallel compression can help increase density and make the details of sounds more audible, especially their quieter parts. By blending that signal with the original, we can give percussion more body and a greater sense of cohesion.
However, care is needed. Excessive compression can make hi-hats sound harsh, bring up too much background noise or make the groove feel less natural.
The key is not to compress heavily, but to find the right balance between the original and processed signals.
And remember: if your percussion already sounds balanced and has enough energy, you do not need to add parallel compression just because it is a popular technique.
5. Compression on leads: a creative tool too
When we talk about compression, we usually think about controlling levels. However, we can also use it creatively.
One technique I like to use on certain leads is placing a compressor after the reverb and delay effects.
Imagine a melodic lead with plenty of ambience. When a note plays, we hear the main sound, followed by the delay repeats and the reverb tail.
If we apply compression after those effects, we can reduce the level difference between the loudest moments and the quieter parts. When we compensate the output level, the reverb tails and delay repeats can become more prominent.
The result can be a fuller, denser and more immersive sound.
That said, special attention must be paid to the compressor's attack. If it is too fast, we can reduce each note's initial transient and make the lead lose definition.
That is why, when I want to preserve that initial impact, I usually start by trying a slower attack and adjust the other parameters while listening to how the sound responds.
There is no perfect attack time for every lead. It depends on the synthesizer's envelope, the speed of the melody and the effect we want to achieve.
We can also experiment with sidechain processing applied only to the reverb. For example, we can make the reverb duck while the main note plays and come back up when it ends.
This keeps the melody clear while still giving us a spacious, atmospheric reverb tail.
6. Do sound effects need compression?
In general, I do not tend to use much compression on effects such as risers, impacts, sweeps or transition sounds.
Many of these elements are specifically designed to evolve in intensity. A riser, for example, might start quietly and gradually increase in level as it approaches the drop.
If we compress that sound unnecessarily, we can reduce the sense of buildup we are trying to create.
However, there are exceptions.
Some effects have a very loud peak at the beginning and then drop dramatically in level. In these cases, we can use compression to control that peak and achieve a more balanced level.
We can also solve this with volume automation or by changing the sample's own envelope.
What matters is understanding that not every volume problem needs a compressor.
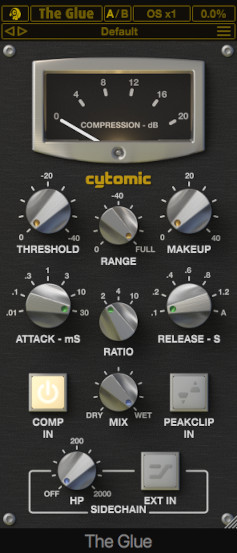
7. Vocals: one of the clearest examples
If there is one instrument that makes the purpose of compression particularly easy to understand, it is the human voice.
When we speak or sing, our intensity changes constantly. Some words are soft, others are louder, and certain syllables can produce significant peaks in level.
If we look at the waveform of a vocal recording, we will usually see considerable differences in level.
Compression lets us control the loudest moments and achieve a more consistent performance, so quiet words do not disappear into the mix and louder words do not jump out excessively.
But we need to avoid a common mistake: compressing a vocal does not mean creating a completely uniform waveform.
The performance needs to retain its nuances. If we remove too much dynamic range, we can lose expression and make the voice sound artificial or overly processed.
In many cases, the best solution is to combine volume automation with moderate compression. This lets us correct large differences before the compressor has to work too hard.
8. Sidechain: one of the most common applications in electronic music
Sidechain deserves a special mention because it is one of the most widely used techniques in our music.
In its most common application, we use an external signal, such as the kick, to control the level reduction of another element, usually the bass.
When the kick hits, the bass temporarily drops in level, creating space so the two elements can sit together more comfortably.
But sidechain is not limited to kick and bass. We can also use it to control reverbs, delays, pads or any element we want to move temporarily out of the way in the mix.
We do not always need a traditional compressor to achieve this either. Volume modulation tools such as Kickstart or ShaperBox let us draw the reduction curve directly.
The choice depends on the result we are looking for. What matters is understanding that sidechain is a dynamics control technique, not simply a pumping effect.
9. The most common compression mistakes
After years of producing music and listening to other artists' demos, there are several mistakes I encounter regularly.
Compressing every channel out of habit. Not every sound needs compression. Many samples and synthesizers already have suitable dynamics.
Using an attack that is too fast. This can remove part of the transient and make kicks, snares or leads lose punch and definition.
Overcompressing. Excessive gain reduction can destroy a sound's natural movement and cause unwanted pumping.
Confusing louder with better. If we significantly increase the output level after compression, it is easy to think the sound has improved simply because it is now louder.
Not listening in the context of the mix. A sound can seem fantastic on its own and work less well when played alongside everything else.
That is why I recommend A/B comparisons between the original and compressed signals, matching their perceived loudness as closely as possible. This lets us evaluate whether compression is actually making a positive contribution.
10. So, when should you use a compressor?
My recommendation is to stop thinking of compression as a mandatory process and start treating it as a tool for specific goals.
Use a compressor when you need to control level differences, reduce peaks, change an instrument's dynamic response or achieve a particular sonic texture.
Experiment with parallel compression when you want to add density to percussion, and with creative techniques when you want to change the behavior of reverbs, delays or synthesizers.
Above all, learn to recognize when you do not need it.
Sometimes, choosing a better sample, changing a synthesizer's envelope, adjusting the volume or automating a parameter will be much more effective than adding another plugin to the chain.
A good producer is not the one who uses the most tools, but the one who understands what their music needs and knows how to achieve it.
The next time you open a compressor, ask yourself a very simple question:
What do I want to change about this sound, and why?
If you have a clear answer, you have already taken the most important step toward using compression correctly.