A mix can begin with levels that look perfectly fine and, a few plugins later, become difficult to control. The channel fader is not always the real problem. The master is not always the real problem either.
Very often, the problem is the level build-up that happened before the signal ever reached the end of the chain.
A synth comes out too loud. An EQ adds a little level. A saturator adds more. A compressor brings the signal back up with makeup gain. Another effect enters the chain and, without noticing, the signal is several dB louder than where it started.
That is gain staging: the progressive accumulation of gain across a processing chain.
Modern DAWs have a lot of internal headroom, but controlling this accumulation is still essential if you want mixes that feel cleaner, more predictable and easier to finish.
1. Everything Starts at the Source
One of the most common mistakes is starting to mix a signal that is already leaving the instrument too hot.
Imagine loading Nexus, Serum or any other synth and choosing a preset with a huge output level. The channel is already close to the limit before you insert a single effect.
You can lower the mixer fader, of course. But that does not change the level being sent into the plugins that sit before the fader.
A cleaner way to work is to control the source first.
You do not need to chase a magic number. There is no universal rule saying that every synth must peak exactly at -12 dBFS or -18 dBFS.
Control the source first. Process it second. Mix it third.
If the source enters the chain at a reasonable level, you have much more space to build the processing that follows.
2. What Gain Staging Really Means
Think about a simple chain:
Nexus → EQ → Saturation → Compression → Mixer
The synth starts at one level. The EQ adds 1 dB. The saturation adds another 2 dB. The compressor recovers 2 dB with makeup gain.
Suddenly, a signal that seemed controlled has gained around 5 dB during processing.
Now imagine the same thing happening across ten, twenty or fifty channels. The problem is usually not one single plugin. It is the sum of small level changes across the whole production.
That is why one question is worth asking constantly:
Is this plugin improving the sound, or is it simply making it louder?
3. Louder Does Not Mean Better
Our ears tend to perceive a slightly louder signal as more powerful, more detailed or more exciting. That can easily fool us while mixing.
You add Saturn 2 and everything seems better. You bypass it and the signal feels smaller. But maybe Saturn is not improving the tone as much as you think. Maybe it is simply increasing the level.
When you evaluate processing, try to keep the output volume close to the input volume. It does not need to be a scientific calibration every time you add a plugin, but it should be close enough for a reasonable A/B comparison.
If an effect adds 3 dB, the comparison is already biased.
4. Why Input Level Matters in Some Plugins
Not every plugin reacts to input level in the same way. A clean digital EQ can tolerate very different levels without changing its basic behaviour too much.
Non-linear processors are different. Saturators, distortion units, clippers, compressors, tape emulations, analogue-style plugins, FabFilter Saturn 2 or Ableton Roar can all respond strongly to the level they receive.
The harder you feed some of these tools, the more saturation, compression or distortion they can generate.
That means gain staging is not only about avoiding a red light. It affects the sound itself.
Two producers can use the same saturation preset and get different results simply because they are sending different levels into the plugin.
5. The Problem Gets Bigger at the Bus
Now take the same idea one step further. You have several layers: Lead 1, Lead 2, Lead 3, a pluck and an atmosphere. They all end up in the same synth bus.
Each individual channel may look reasonably controlled, but signals add together when they reach the bus.
If each channel has also accumulated unnecessary gain during its own processing chain, the bus can receive a huge amount of energy. Then the emergency fixes begin. You lower the bus. You lower the master. You insert a limiter. You move faders around trying to recover space.
But the problem often started much earlier.
If every element reaches the bus with a healthy, controlled level, the sum becomes much easier to manage.
6. Is It Bad to Go Above 0 dB Inside the DAW?
There is an important difference between internal clipping and clipping at the final output.
Modern DAWs such as Ableton Live and FL Studio use floating point processing internally, which gives a lot of mathematical headroom in certain stages of the mixer. Briefly going above 0 dBFS on an internal channel does not necessarily mean the sound is destroyed.
But that does not mean levels can be ignored.
First, the signal eventually reaches an output where there is a real limit. Second, the plugins between the source and the output can behave very differently when they receive excessive level.
The useful question is not “Can I go above 0 dB without the DAW clipping?”
The better question is: why do I need to work this loud?
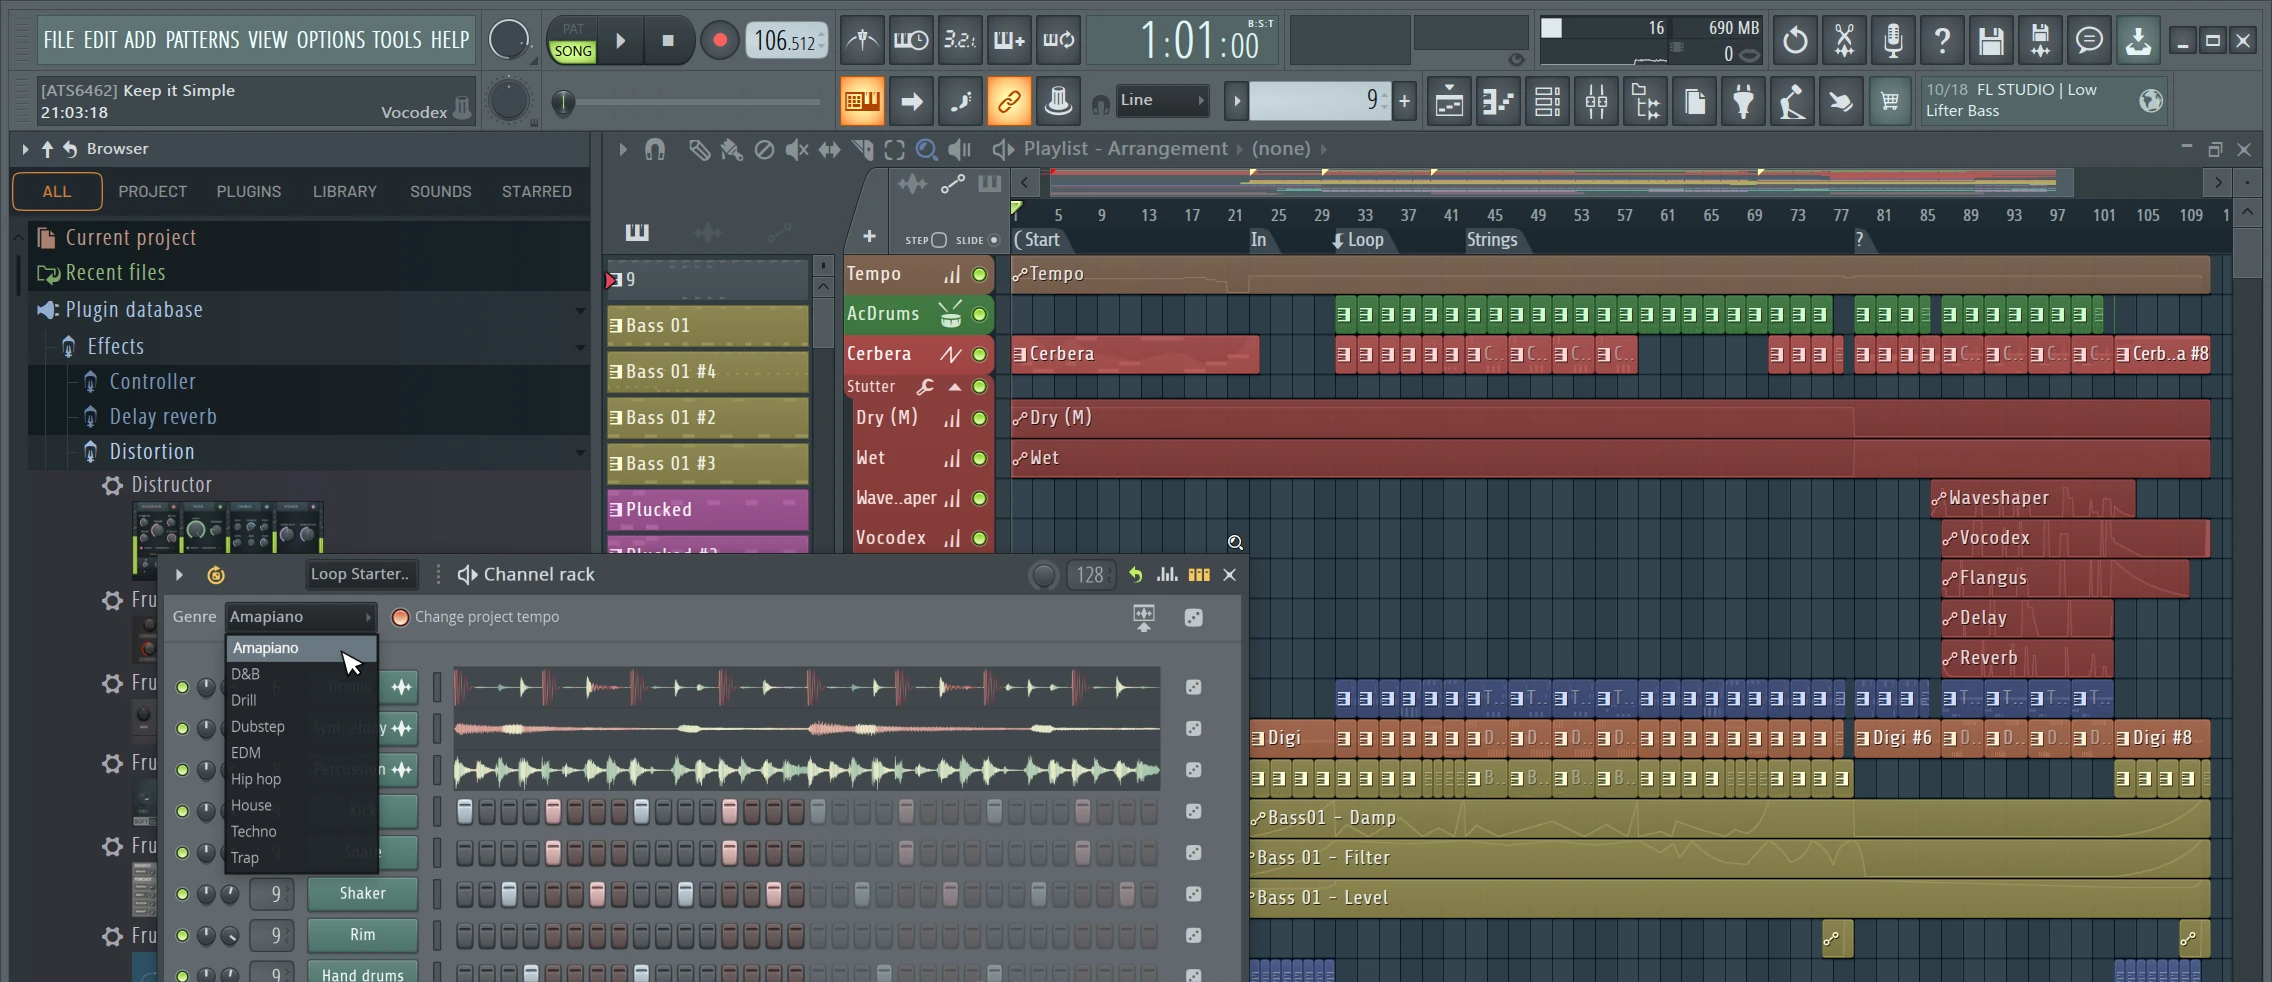
7. Gain Staging in Ableton Live and FL Studio
The philosophy is the same in every DAW. What changes is where you make the adjustment.
In Ableton Live, you can control level from the instrument itself, use Utility when needed and pay attention to the input and output controls of processors. Watch the meters before and after important plugins, especially when using saturation, Roar, compression or clipping.
In FL Studio, the concept is identical. Control the instrument output before building a long mixer chain, then watch how the level changes as it moves through each slot.
Ableton does not have a special kind of gain staging and FL Studio does not need a different philosophy. The key is understanding the flow of signal.
8. A Practical Example With Nexus
Nexus is a good example because presets can have very different output levels. Imagine finding the perfect lead for your production.
Before processing it, check the output level of Nexus itself. If the signal is unnecessarily loud, lower it there. Add the EQ and check what happened to the level. Add Saturn 2 or Roar and adjust the output so you are not confusing more volume with better tone.
Then continue processing and finally check how the channel reaches its bus.
The goal is not to hit one perfect number. The goal is for every stage to make sense.
9. Do Not Turn Gain Staging Into an Obsession
The opposite mistake is also common. Some advice turns gain staging into a rigid mathematical ritual.
Everything must be at -18 dBFS. Every channel must peak at exactly -12 dBFS. The kick must be at one fixed number.
I do not work that way.
In modern music production, levels depend on the sound, the processing, the genre and the context. What matters is understanding what is happening to the signal.
If you know why a channel is at a certain level, what your plugins are receiving and how much level you are adding while processing, you are already making conscious decisions.
10. A Better Way to Think About It
A useful way to summarise the process is:
Source → Processing → Channel → Bus → Master
Each stage receives something from the one before it. If the problem starts at the first stage and you only try to correct it at the end, the whole mix becomes harder to control.
When you start with reasonably balanced sources, watch level during processing and keep the sum of signals controlled, buses work better and the master receives a much more manageable mix.
You do not need to mix extremely low. You do not need to chase perfect numbers. You need headroom, consistency and control.
Conclusion
Gain stacking often happens without you noticing. A small increase here, another one there, a saturator, makeup gain, another plugin. Then twenty channels are summed and the master is too hot.
The solution is not simply lowering the master.
Start earlier. Control the source. Watch what every plugin does to the level. Compare processing at similar volumes. Pay attention to how signals arrive at buses. Above all, understand the complete signal path.
A clean mix does not start at the master. It starts with the first sound you load into the project.